 Admin
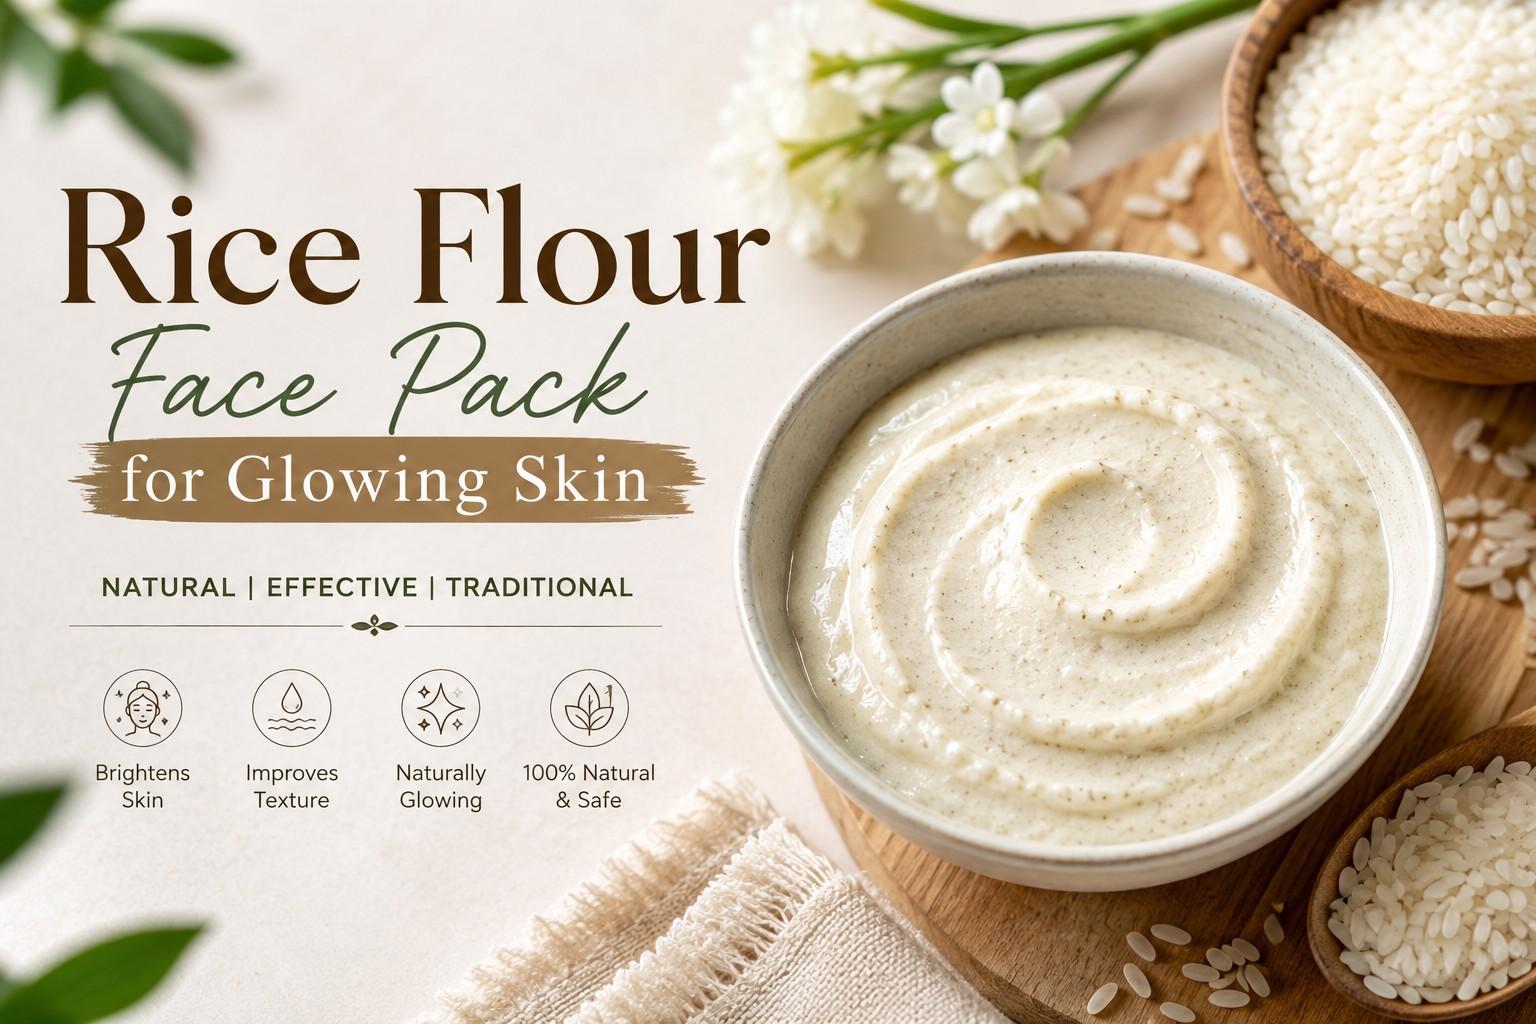
Admin Rice Flour Face Pack for Glowing Skin
Every few months, a new “miracle” skincare ingredient goes viral — snail mucin, bakuchiol, 24-karat gold serums. Meanwhile, one of the most effective brightening ingredients has been sitting in Indian kitchens for generations, quietly ignored in favor of expensive imports. Rice flour has been used across Asia for centuries, from Japanese geishas to Indian grandmothers, as a natural way to achieve soft, even-toned, glowing skin.
The problem is most people either don’t know how to use it correctly, or they dismiss it as an outdated home remedy without real backing. In reality, a well-formulated rice flour face pack for glowing skin can gently exfoliate, absorb excess oil, and improve texture — all without the harsh chemicals or price tag of commercial brightening products. This guide covers exactly how to use rice flour correctly, what to combine it with, and the mistakes that stop people from seeing results.
Why Rice Flour Actually Works for Skin
Rice flour isn’t just a filler ingredient in DIY packs — it has genuine functional benefits. It contains natural starches that gently absorb excess oil, along with antioxidants called ferulic acid and allantoin, which help calm irritation and support skin repair. Traditional skincare in Japan and Korea has long relied on rice-based products for their mild exfoliating and brightening properties, and modern dermatology has taken note, with several skincare brands now formulating rice-extract serums and cleansers based on the same principles.
The gentle granular texture of rice flour also makes it a natural mild exfoliant, helping to remove dead skin cells without the micro-tears that harsher physical scrubs can cause.
Understanding Your Skin Before You Start
Not every face pack suits every skin type, and rice flour is versatile enough to be adjusted based on your needs.
- Oily skin: Benefits most from rice flour combined with ingredients that control oil, like multani mitti (fuller’s earth) or plain rice water.
- Dry skin: Needs rice flour paired with hydrating ingredients like milk, honey, or aloe vera to avoid over-drying.
- Combination skin: Works well with a balanced mix like rice flour and yogurt.
- Sensitive skin: Should patch test first and stick to gentle combinations like rice flour with milk, avoiding acidic ingredients like lemon.
Read this: Skin Care Routine for Dry Skin
Step-by-Step Guide: How to Make and Use a Rice Flour Face Pack
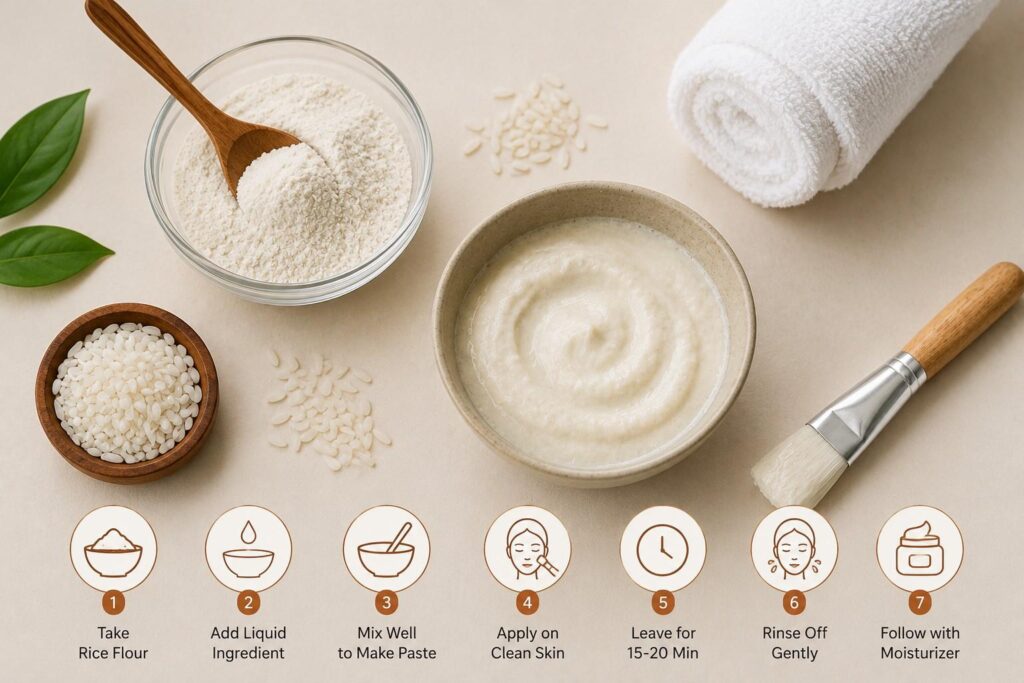
Step 1: Choose Fresh, Fine Rice Flour
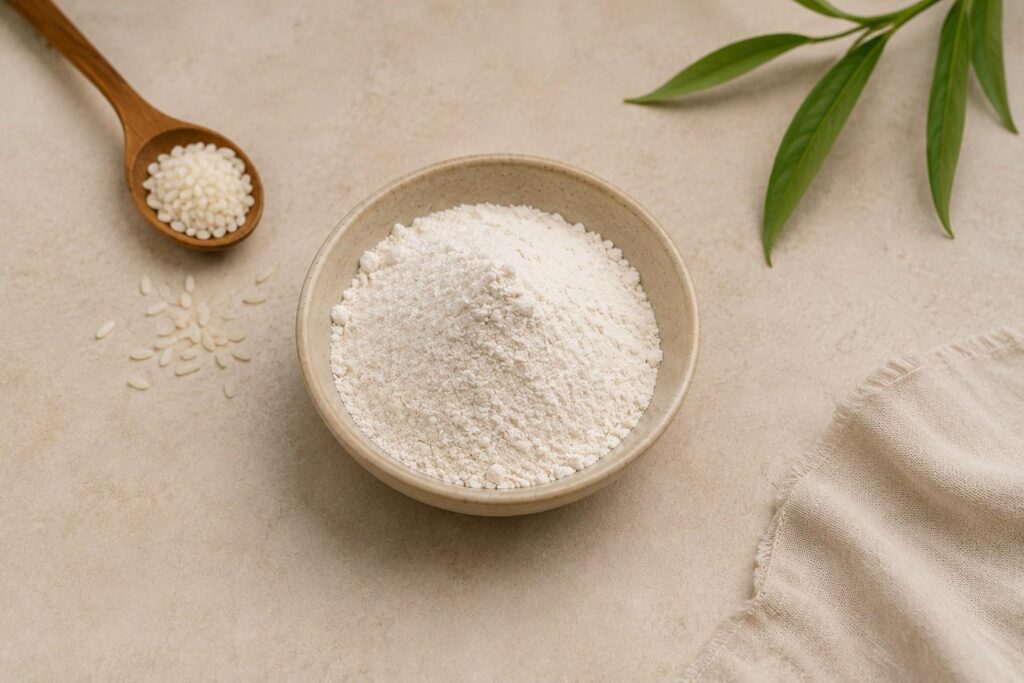
Not all rice flour is created equal, and this first step quietly decides how good or bad your entire experience will be. Store-bought rice flour is convenient, but always check that it’s finely milled and doesn’t have any added bleaching agents or preservatives — some cheaper varieties are ground coarsely for cooking purposes and are far too gritty for facial skin.
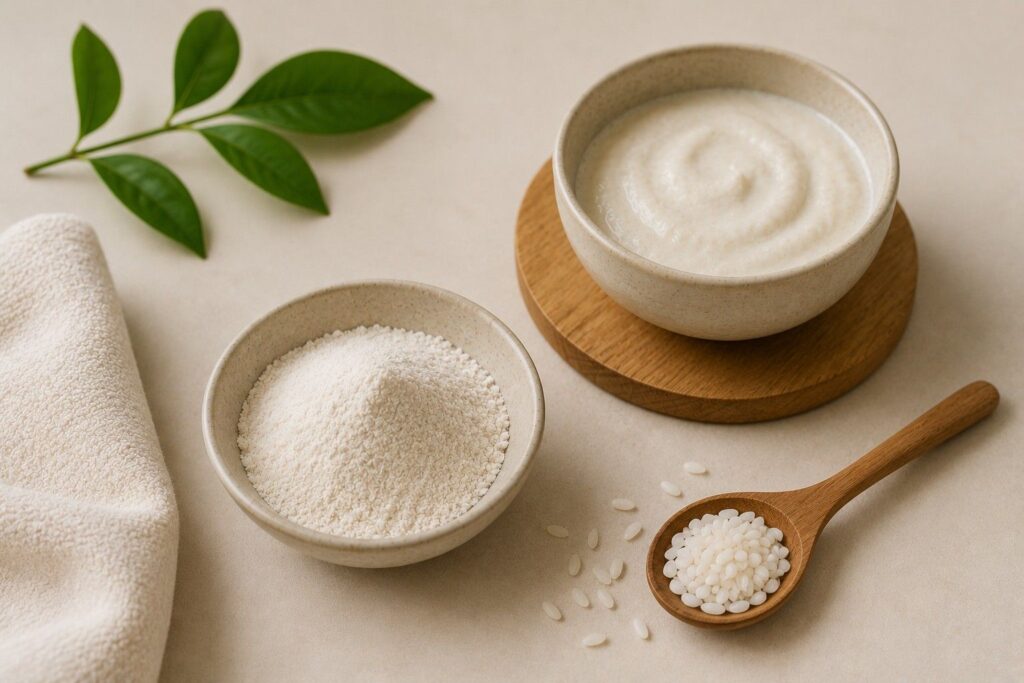
If you’re making it at home, soak half a cup of raw rice in water for 4-5 hours (overnight also works fine), drain it completely, spread it on a clean cloth or tray, and let it air-dry until there’s no moisture left. Once fully dry, grind it in a mixer grinder until it turns into a fine, almost talc-like powder — not the slightly coarse texture you’d use for cooking. Sieve it once if you notice any larger particles left behind. This one extra step of sieving makes a noticeable difference, especially if you have sensitive or thin skin, since coarse granules can cause micro-tears and unnecessary irritation instead of a gentle exfoliating effect.
Step 2: Pick the Right Base Ingredient for Your Skin Type
This is the step most people rush through, but it’s honestly what determines whether your face feels glowing or tight and irritated afterward. Rice flour on its own is just a dry powder — the liquid or semi-liquid base you mix it with is what actually delivers most of the nourishing benefits. Mix roughly two tablespoons of rice flour with one of the following, adjusting quantity slightly based on how much paste you need:
- Oily skin: Use plain water or rice water (the starchy water left over after rinsing or boiling rice). This keeps the mix lightweight and helps control excess oil without adding extra richness that could clog pores.
- Dry skin: Use raw milk or honey. Milk contains natural fats and mild lactic acid that soften and hydrate, while honey acts as a humectant, drawing moisture into the skin and leaving it noticeably softer.
- Combination skin: Use plain, unsweetened yogurt. It hydrates the drier areas like cheeks while its mild acidity helps balance oil in the T-zone, making it a good middle-ground option.
- Acne-prone skin: Use neem water or rose water. Neem water offers natural antibacterial properties that help calm active breakouts, while rose water is soothing and reduces redness without irritating already-inflamed skin.
If you’re unsure which category you fall into, start with rose water — it’s the safest, most universally tolerated option across skin types and rarely causes any reaction.
Read this: Skin Type Test at Home
Step 3: Mix to a Smooth, Spreadable Paste
Add your chosen liquid gradually, a teaspoon at a time, stirring continuously rather than dumping it all in at once. Rice flour absorbs liquid slowly, so what looks too dry at first can quickly turn runny if you add too much too fast. You’re aiming for a texture similar to thick curd or a smooth idli batter — thick enough to stay in place on your skin without dripping, but soft enough to spread easily without tugging.
If the mixture turns lumpy, let it sit for two to three minutes before stirring again; this gives the flour time to properly absorb the liquid and smooths out naturally. Avoid making the paste too far in advance, as it can start to dry out or separate if left sitting for more than 15-20 minutes before application.
Step 4: Apply on Clean, Dry Skin
Always start with a clean face — wash with your regular cleanser to remove surface dirt, oil, and any leftover makeup, then pat your skin dry with a clean towel. Applying a face pack over unwashed skin traps existing dirt and oil underneath, reducing how effectively the ingredients can work.
Using clean fingertips or a soft, flat brush, apply an even, medium-thick layer all over your face and neck, working outward from the center. Keep strokes gentle rather than pressing the paste in forcefully. Avoid the delicate skin around your eyes and lips, since these areas are thinner and more prone to irritation. If you have any active cuts, open acne, or broken skin, gently work around those spots instead of applying directly over them.
Step 5: Leave It On for 15-20 Minutes
Once applied, sit back and let the pack work — this isn’t a step to rush. Somewhere between 15 and 20 minutes is the sweet spot for most skin types. During this time, you’ll usually feel a slight tightening sensation as the pack begins to dry, which is completely normal and simply means the water content is evaporating.
The key detail beginners often miss is timing the removal correctly. You want to catch it while it’s still slightly damp to the touch, not bone-dry and cracking. A fully hardened, completely dry pack pulls at the skin uncomfortably during removal and can strip away more natural oils than intended, leaving your face feeling unnecessarily tight afterward. If you notice it drying unusually fast — which can happen in warmer weather or under a fan — start checking it closer to the 12-minute mark instead.
Step 6: Remove With Gentle Circular Motions
Splash your face with lukewarm water first to soften the pack slightly, rather than trying to wipe it off dry. Then, using clean, damp fingertips, massage your skin in small, gentle circular motions for about 30-45 seconds. This isn’t just about removing the pack — the light friction from these circular movements works as a mild, natural exfoliation, helping lift away dead skin cells along with the residue.
Avoid scrubbing hard or using a rough washcloth to speed up the process, as this can cause redness and micro-irritation, especially on sensitive skin. Once most of the pack has loosened, rinse thoroughly with lukewarm water until your skin feels clean, then pat dry gently with a soft towel instead of rubbing.
Step 7: Follow With Moisturizer
This step is non-negotiable, no matter how hydrating your base ingredient was. Even a gentle face pack causes some degree of surface exfoliation and mild water loss, and skipping moisturizer afterward can leave your skin feeling tight, dry, or reactive for hours.
Apply your regular moisturizer within a minute or two of patting your skin dry, while it’s still slightly damp — this helps lock in extra hydration. If you did the pack in the morning, follow up with sunscreen once the moisturizer has absorbed, since freshly exfoliated skin is temporarily more sensitive to sun exposure. If it’s part of your nighttime routine, a slightly richer night cream works well to support skin repair while you sleep.
10 Important Points to Know About Rice Flour for Skin
- Rice flour works best as a gentle exfoliant, not a deep treatment. It’s suited for regular maintenance and glow, not for treating serious skin concerns like cystic acne or deep pigmentation, which need targeted dermatological treatment.
- Frequency matters more than quantity. Using a rice flour pack two to three times a week is more effective and safer than daily use, which can lead to over-exfoliation and barrier damage.
- Rice water and rice flour offer different benefits. Rice water (the starchy liquid from soaked or boiled rice) is more hydrating and soothing, while rice flour provides the physical exfoliating texture.
- Combining rice flour with turmeric helps with dullness. A pinch of turmeric adds mild antioxidant benefits, but use sparingly to avoid a temporary yellow tint on the skin.
- Milk in the mixture offers gentle lactic acid benefits. Raw milk contains natural lactic acid, which mildly exfoliates and brightens over time, making it a great pairing for dry or dull skin.
- Avoid combining rice flour with harsh acidic ingredients like lemon on sensitive skin. While popular in traditional remedies, lemon juice can cause irritation, photosensitivity, and even chemical burns, especially with sun exposure afterward.
- Rice flour packs can help manage excess oil. The natural starch absorbs surface oil, making it particularly useful for people with oily or combination skin looking for a mattifying effect.
- Patch testing is essential, even for natural ingredients. “Natural” doesn’t mean risk-free; some people can be sensitive to rice starch or the other ingredients mixed in.
- Consistency shows visible results over 4-6 weeks. Like most skincare methods, rice flour won’t create overnight transformation, but a consistent routine improves texture and glow steadily over time.
- It shouldn’t replace your core skincare routine. Rice flour face packs work best as a supplementary treatment alongside a basic routine of cleanser, moisturizer, and sunscreen, not as a replacement for daily skincare.
Common Mistakes People Make With Rice Flour Face Packs
- Using it daily: This over-exfoliates skin and can weaken the skin barrier over time, leading to sensitivity and redness.
- Applying it on broken or irritated skin: This can worsen inflammation and cause stinging.
- Letting the pack dry completely and hard: This makes removal harsh and can strip natural oils, leaving skin tight and dry.
- Skipping moisturizer afterward: Exfoliation without follow-up hydration can leave skin dehydrated.
- Using coarse, unrefined rice flour: This can feel too abrasive and cause micro-tears, especially on sensitive or thin skin.
- Adding too much lemon or acidic ingredients: This increases the risk of irritation and sun sensitivity.
- Not patch testing new combinations: Even natural ingredients can trigger unexpected reactions in sensitive skin.
Key Ingredients to Pair With Rice Flour and Their Benefits
| Ingredient | Benefit | Best For |
| Raw Milk | Contains natural lactic acid, hydrates and mildly brightens | Dry, dull skin |
| Honey | Natural humectant, antibacterial properties | Acne-prone, dry skin |
| Yogurt | Balances oil while hydrating, mild exfoliation | Combination skin |
| Turmeric (small amount) | Antioxidant, helps reduce dullness | All skin types (in moderation) |
| Rose Water | Soothing, reduces redness | Sensitive, acne-prone skin |
| Aloe Vera Gel | Calms inflammation, deeply hydrating | Sensitive, irritated skin |
| Multani Mitti (Fuller’s Earth) | Absorbs excess oil, deep cleanses pores | Oily skin |
Comparing Rice Flour Packs to Other Common Natural Face Packs
| Face Pack | Primary Benefit | Best Skin Type | Frequency |
| Rice Flour + Milk | Gentle exfoliation, brightening | Dry, normal skin | 2-3 times/week |
| Multani Mitti + Rose Water | Deep oil absorption | Oily skin | 2 times/week |
| Besan (Gram Flour) + Turmeric | Tan removal, mild cleansing | Normal, oily skin | 2 times/week |
| Oatmeal + Honey | Soothing, gentle exfoliation | Sensitive, dry skin | 2-3 times/week |
| Sandalwood + Rose Water | Cooling, calming | Sensitive, acne-prone skin | 2 times/week |
Rice flour stands out from this list for being one of the gentlest options for regular use, making it suitable even for people with mildly sensitive skin when paired correctly.
Practical Tips for Indian Skin and Home Use
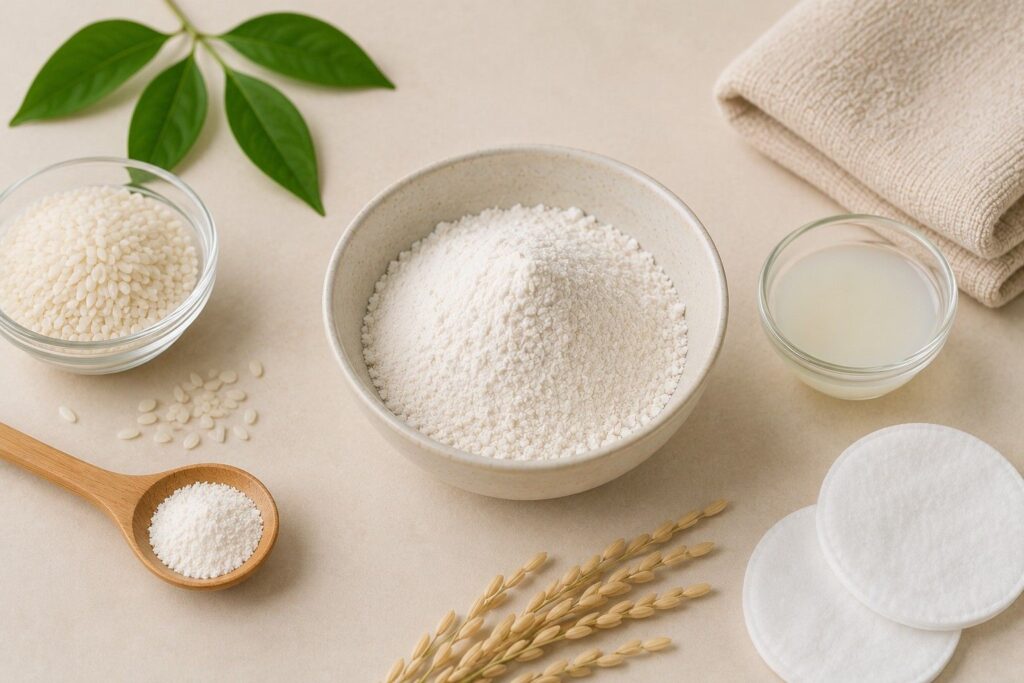
- Making it at home is easy and affordable. Soak a cup of rice in water for 4-5 hours, dry it thoroughly, and grind it into a fine powder using a mixer grinder. Store in an airtight container for up to two weeks.
- Store-bought options work too. Look for finely milled, unbleached rice flour without added preservatives if you prefer convenience over homemade preparation.
- Adjust for humid Indian summers. In humid climates, use lighter combinations like rice flour with rose water instead of heavier bases like milk, which can feel sticky in humidity.
- Adjust for dry winters. In colder, drier months common in North India, pair rice flour with honey or milk for extra hydration.
- Combine with sunscreen the next morning. Since exfoliation can leave skin slightly more sun-sensitive, always follow up with sunscreen the day after using any face pack, especially important given India’s strong year-round sun exposure.
- Budget-friendly ritual. A homemade rice flour pack costs a fraction of commercial brightening masks, making it an accessible option for building a consistent skincare habit without financial strain.
Dermatological research on rice-derived skincare ingredients, often referenced in cosmetic science literature, points to compounds like ferulic acid and allantoin in rice as offering genuine antioxidant and soothing properties — lending scientific credibility to a remedy that Asian skincare traditions have relied on for centuries.
Read this: 5 Homemade face packs for glowing skin in summer
Frequently Asked Questions
1. How often should I use a rice flour face pack for the best results?
Two to three times a week is ideal. Using it daily can lead to over-exfoliation, which weakens the skin barrier and causes sensitivity over time.
2. Can rice flour help with acne scars and pigmentation?
It can mildly improve texture and support gradual brightening through gentle exfoliation, but it isn’t a substitute for targeted treatments like niacinamide serums or dermatologist-recommended treatments for stubborn pigmentation.
3. Is homemade rice flour better than store-bought rice flour for skin?
Both work well as long as the flour is finely ground and free from additives. Homemade flour gives you more control over freshness and consistency, while store-bought options offer convenience.
4. Can I use rice flour face packs if I have acne-prone skin?
Yes, especially when paired with soothing ingredients like rose water or neem water. Avoid combining it with heavy, comedogenic ingredients that could clog pores.
5. Does rice flour lighten skin tone permanently?
No natural remedy permanently changes skin tone. Rice flour can improve texture, remove dead skin buildup, and support a more even, glowing appearance over consistent use, but it doesn’t alter your natural skin tone.
6. Can I leave a rice flour face pack on overnight?
No. Face packs, including rice flour ones, are meant to be left on for 15-20 minutes and rinsed off. Leaving any pack on overnight can clog pores and cause irritation.
Final Thoughts: Simple, Traditional, and Genuinely Effective
Rice flour face packs prove that effective skincare doesn’t always need to come from an expensive bottle with a long ingredient list. Used correctly — two to three times a week, paired with the right base ingredient for your skin type, and followed by proper moisturizing — this traditional remedy offers real, visible benefits for texture, oil control, and glow.
Start simple: mix rice flour with an ingredient suited to your skin type, patch test it first, and stay consistent for a few weeks before judging results. Combine it with a basic daily routine of cleansing, moisturizing, and sunscreen, and you’ll have a skincare approach that’s both budget-friendly and genuinely rooted in results, not trends.

 Admin
Admin