
Homemade Face Cleanser for Daily Use
Let’s be honest — the skincare aisle can be overwhelming. Dozens of face cleansers, each promising miracle results, and most of them packed with ingredients you can barely pronounce. But what if the best cleanser for your skin is already sitting in your kitchen?
Welcome to the world of homemade face cleansers for daily use. At Daily Skin Glow, we believe that great skin doesn’t have to cost a fortune or come loaded with synthetic chemicals. Nature has been taking care of human skin for thousands of years, and with the right ingredients and a bit of know-how, you can create a daily face cleanser that works beautifully for your unique skin type.
In this in-depth guide, we’ll walk you through everything — from understanding why a daily cleanser matters, to the best natural ingredients, to step-by-step DIY recipes you can try tonight. Let’s dive in.
Why Daily Face Cleansing Is a Non-Negotiable Step
Before we talk recipes, let’s understand the ‘why’. Your skin is your body’s largest organ, and it works hard every single day — shielding you from pollution, UV rays, bacteria, and environmental toxins. While it does an impressive job, by the end of the day it’s carrying a heavy load of:
- Excess sebum (natural skin oil)
- Dead skin cells that have shed throughout the day
- Airborne pollutants and fine particulate matter
- Sweat and residual makeup or sunscreen
- Bacteria that can clog pores and trigger breakouts
Skipping cleansing — even once — allows all of that to sit on your skin overnight, clogging pores, irritating the skin barrier, and accelerating dullness and breakouts. A gentle, effective daily cleanser removes all of this without stripping away your skin’s natural moisture.
Quick Answer (AEO): Should you wash your face every day? Yes — ideally twice a day, morning and night. Morning cleansing removes sweat and sebum from overnight, while evening cleansing clears the day’s pollution and buildup.
Why Choose a Homemade Face Cleanser Over Store-Bought?
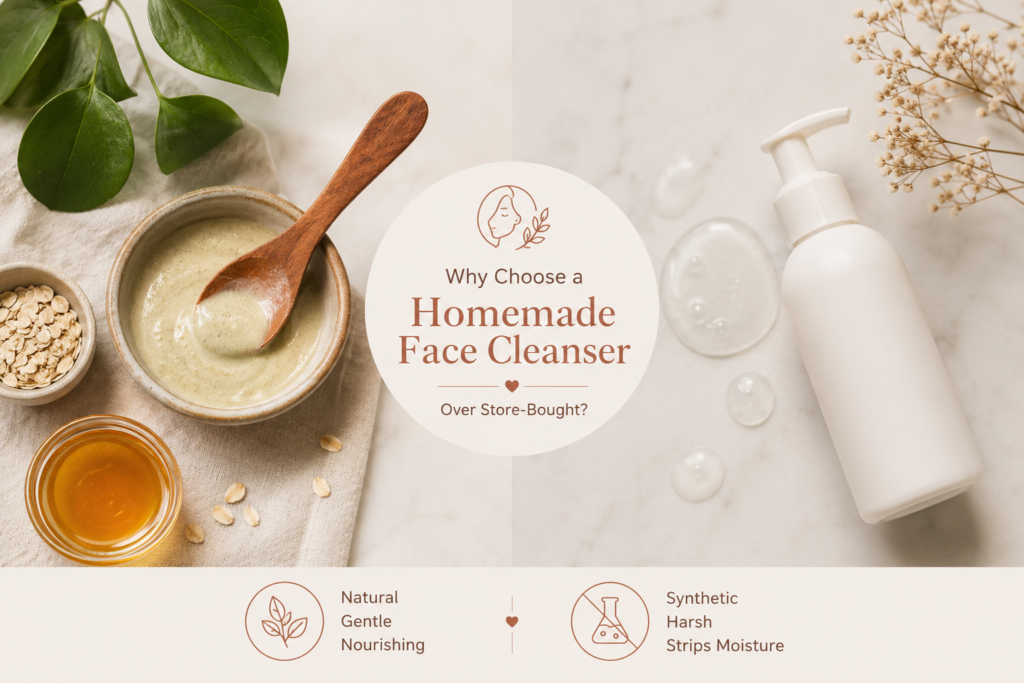
Commercial cleansers aren’t inherently bad, but there are some compelling reasons to go the DIY route — especially for daily use:
1. You Know Exactly What’s In It
Most store-bought cleansers contain preservatives like parabens, synthetic fragrances, sulfates (such as SLS), and petroleum-derived emulsifiers. For daily use, especially on sensitive or reactive skin, these ingredients can cause irritation, hormonal disruption, or long-term barrier damage. With a homemade cleanser, every single ingredient is one you’ve chosen and understand.
2. Customisable for Your Skin Type
No two people have exactly the same skin. A homemade cleanser lets you tailor every element — the oils you use, the active ingredients, the texture — to suit whether your skin is oily, dry, combination, sensitive, or acne-prone.
3. Cost-Effective and Eco-Friendly
A bottle of premium natural face cleanser can cost anywhere from $20 to $60. The same quality — often better — can be made at home for a fraction of the price, with ingredients that are biodegradable and packaging-free.
4. Freshness = Potency
Commercial products need preservatives to survive 2-3 years on a shelf. A fresh, homemade cleanser uses ingredients at peak potency. Honey is more antibacterial. Oils are more nourishing. Aloe vera is more soothing. Freshness genuinely matters in skincare.
The Best Natural Ingredients for a Daily Homemade Face Cleanser
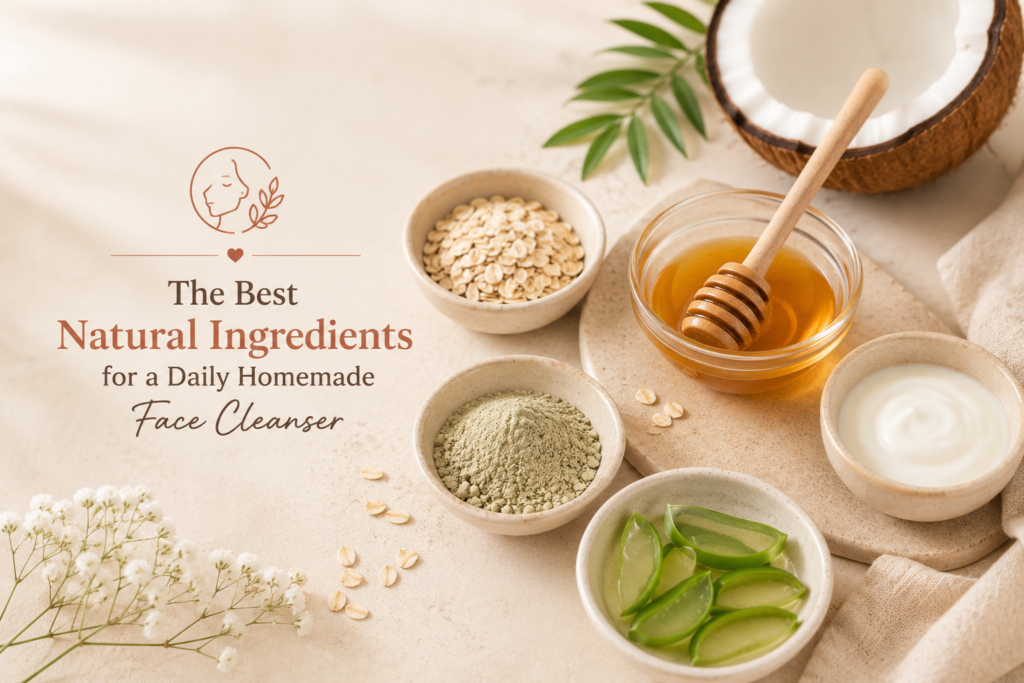
Understanding your ingredients is the key to making a cleanser that actually works. Here’s a breakdown of the most effective natural cleansing agents, carriers, and actives:
| Ingredient | Primary Benefit | Best For |
| Raw Honey | Antibacterial, humectant, gentle exfoliation | All skin types, especially acne-prone |
| Castile Soap | Gentle plant-based surfactant | Normal, oily, combination skin |
| Aloe Vera Gel | Soothing, anti-inflammatory, hydrating | Sensitive, reactive, sunburned skin |
| Jojoba Oil | Balances sebum, non-comedogenic | Oily, combination, acne-prone skin |
| Coconut Oil | Antimicrobial, makeup dissolving | Dry skin (avoid if acne-prone) |
| Oat Flour | Gentle cleansing, anti-itch, barrier repair | Eczema, sensitive, dry skin |
| Yogurt / Kefir | Lactic acid exfoliation, probiotic benefit | Dull, uneven, aging skin |
| Rose Water | Toning, anti-inflammatory, aromatic | All skin types |
| Tea Tree Oil | Antibacterial, antifungal (use diluted) | Acne-prone, oily skin |
| Vitamin E Oil | Antioxidant, skin repair | Dry, mature, damaged skin |
Always do a patch test with any new ingredient before applying to your full face — apply a small amount to your inner wrist and wait 24 hours. This is especially important for essential oils.
Read this: Homemade Face Scrub for Blackheads:5 Proven DIY Recipes That Actually Clear Your Pores
5 Homemade Face Cleanser Recipes for Daily Use
Now for the good part — the recipes! Each of these is designed for daily use, meaning they’re gentle enough not to disrupt your skin barrier while being effective enough to truly clean your skin.
Recipe 1: Honey & Aloe Everyday Cleanser (All Skin Types)
This is the perfect starter recipe — simple, universally gentle, and deeply nourishing. Honey’s natural enzymes dissolve impurities while aloe vera soothes and hydrates. This cleanser leaves skin clean but never tight or stripped.
What You’ll Need:
- 2 tablespoons raw honey (ideally Manuka or local raw honey)
- 1 tablespoon pure aloe vera gel (fresh from the plant or store-bought, no additives)
- 3 drops lavender essential oil (optional, for fragrance and added antimicrobial benefit)
How to Make It:
- Combine honey and aloe vera gel in a small, clean glass jar.
- If using lavender oil, add the drops and stir gently.
- To use: apply a small amount to damp skin, massage in gentle circular motions for 60 seconds, then rinse with lukewarm water.
- Store in the fridge for up to 1 week.
Pro Tip: Warm the mixture slightly between your palms before applying — honey becomes more fluid and spreads more easily when slightly warm.
Recipe 2: Oat & Yogurt Gentle Cleansing Paste (Dry & Sensitive Skin)
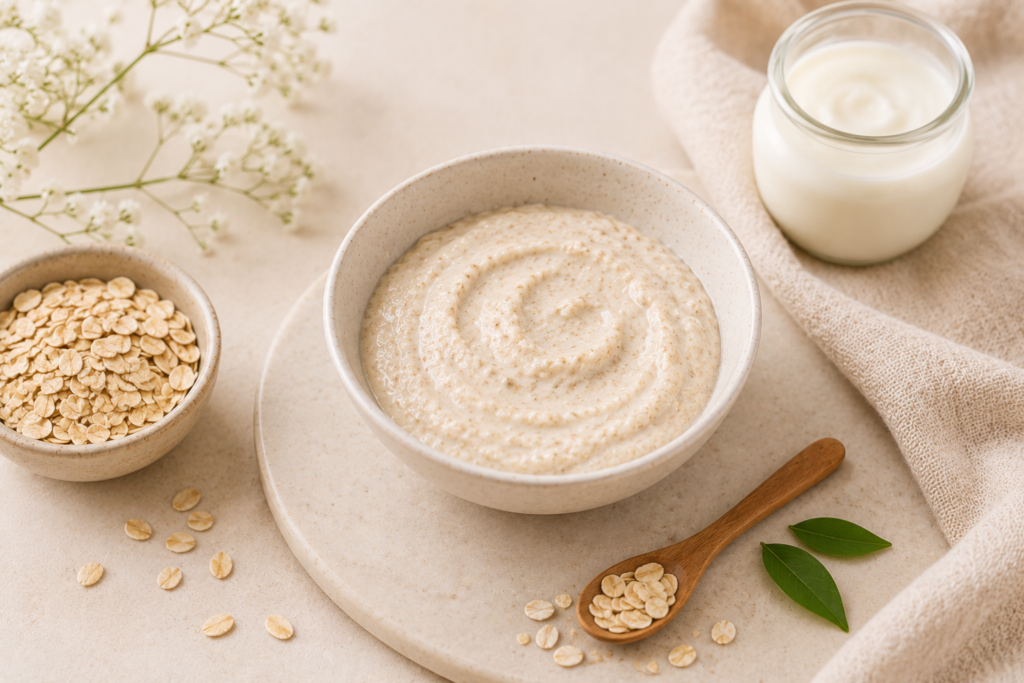
Oat flour is one of the most dermatologist-respected natural skincare ingredients. Colloidal oats are literally used in medical-grade products for eczema. Combined with the gentle lactic acid in yogurt, this paste cleanses, exfoliates, and strengthens the skin barrier all at once.
What You’ll Need:
- 2 tablespoons finely ground oat flour (blend rolled oats into a fine powder)
- 1 tablespoon plain full-fat yogurt (or kefir for a stronger probiotic effect)
- 1 teaspoon raw honey
- Optional: 2 drops chamomile essential oil
How to Make It:
- Mix all ingredients together into a smooth paste. If too thick, add a few drops of water.
- Apply to damp skin using your fingertips, moving in gentle upward circular strokes.
- Leave on for 1-2 minutes if you’d like a mild mask effect.
- Rinse thoroughly with cool water and pat dry.
Storage Note: This recipe contains dairy, so make it fresh each time or prepare a small batch and refrigerate for no more than 2-3 days.
Recipe 3: Castile Soap & Jojoba Oil Foaming Cleanser (Oily & Combination Skin)
If you love that satisfying foam-and-rinse experience of a traditional cleanser, this recipe is for you. Castile soap (made from plant oils like olive or hemp) provides gentle surfactant action, while jojoba oil — which mimics skin’s natural sebum — signals to your skin to produce less oil over time.
What You’ll Need:
- 3 tablespoons liquid Castile soap (unscented or lightly scented)
- 1 tablespoon jojoba oil
- 2 tablespoons rose water or distilled water
- 5 drops tea tree essential oil (optional, for extra antibacterial action)
- A foaming pump dispenser bottle
How to Make It:
- Combine all liquid ingredients in the foaming pump bottle.
- Gently swirl (don’t shake vigorously) to mix.
- Pump 1-2 times onto damp hands, lather, and massage onto face.
- Rinse with lukewarm water. Follow with toner and moisturiser.
Shelf Life: Up to 4 weeks at room temperature. Shake gently before each use.
Recipe 4: Turmeric & Chickpea Flour Brightening Cleanser (Dull & Uneven Skin)
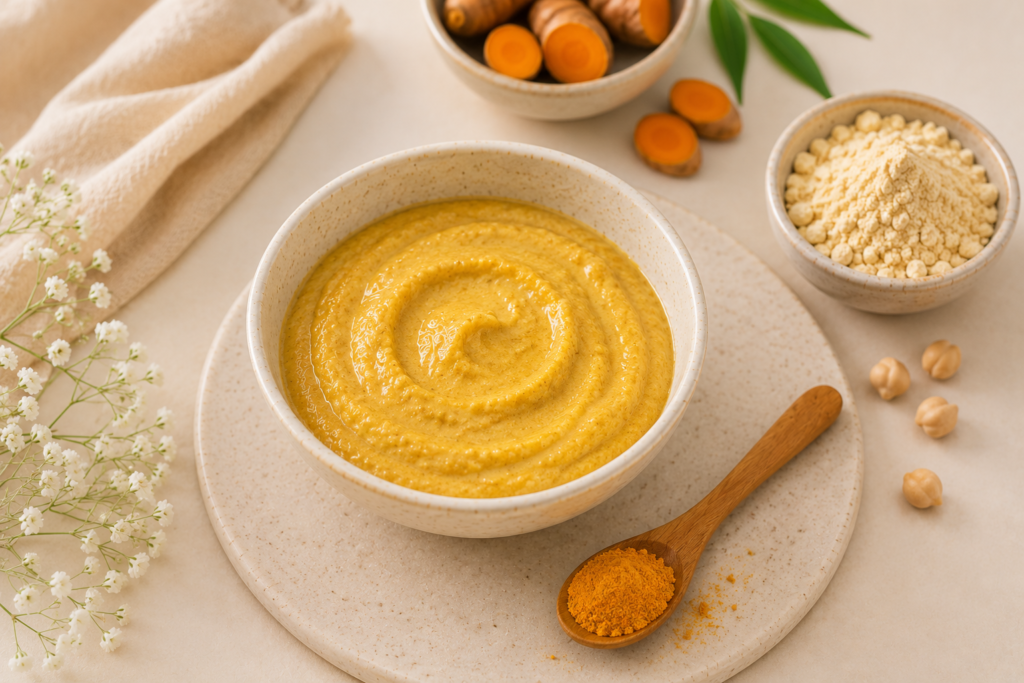
This recipe draws on centuries of Ayurvedic skincare tradition. Chickpea flour (besan) has been used in South Asian beauty rituals for generations — it gently exfoliates, absorbs excess oil, and brightens the complexion. Turmeric adds powerful anti-inflammatory and antioxidant curcumin. Together, they’re one of the most effective natural brightening combinations available.
What You’ll Need:
- 2 tablespoons chickpea flour (besan)
- Pinch of turmeric powder (just a tiny bit — less is more)
- 1 tablespoon plain yogurt or milk
- A few drops of rose water to adjust consistency
How to Make It:
- Mix dry ingredients first, then add yogurt and rose water until you achieve a smooth, spreadable paste.
- Apply to face and neck in gentle circular motions.
- Leave on for 2-3 minutes, then rinse with lukewarm water.
Caution: Turmeric can temporarily stain skin yellow — use a TINY pinch and rinse thoroughly. Avoid if you’re wearing light-coloured towels or clothing.
Recipe 5: Rose & Vitamin E Luxury Oil Cleanser (Dry & Mature Skin)
Oil cleansing is one of the most underrated skincare techniques. The principle is beautifully simple: like dissolves like. Natural oils dissolve the hardened sebum, sunscreen, and makeup that water-based cleansers often leave behind — without disrupting the skin’s acid mantle. This formula is rich, aromatic, and deeply nourishing for dry or mature skin.
What You’ll Need:
- 2 tablespoons jojoba oil (primary cleansing oil)
- 1 tablespoon rosehip seed oil (rich in Vitamin A and C)
- 1 teaspoon Vitamin E oil
- 5 drops rose absolute or rose geranium essential oil (optional)
How to Make It:
- Combine all oils in a small dark glass dropper bottle.
- To use: apply 4-6 drops to dry skin and massage for 1-2 minutes.
- Place a warm, damp cloth over your face for 30 seconds, then gently wipe away the oil.
- No need for a second cleanser — follow directly with serum and moisturiser.
Shelf Life: Up to 3 months in a cool, dark place. The Vitamin E acts as a natural preservative.
Read this: 5 Homemade face packs for glowing skin in summer
Tips for Using Your Homemade Face Cleanser Daily
Getting the recipe right is only half the equation. Here’s how to use your DIY cleanser properly for the best results:
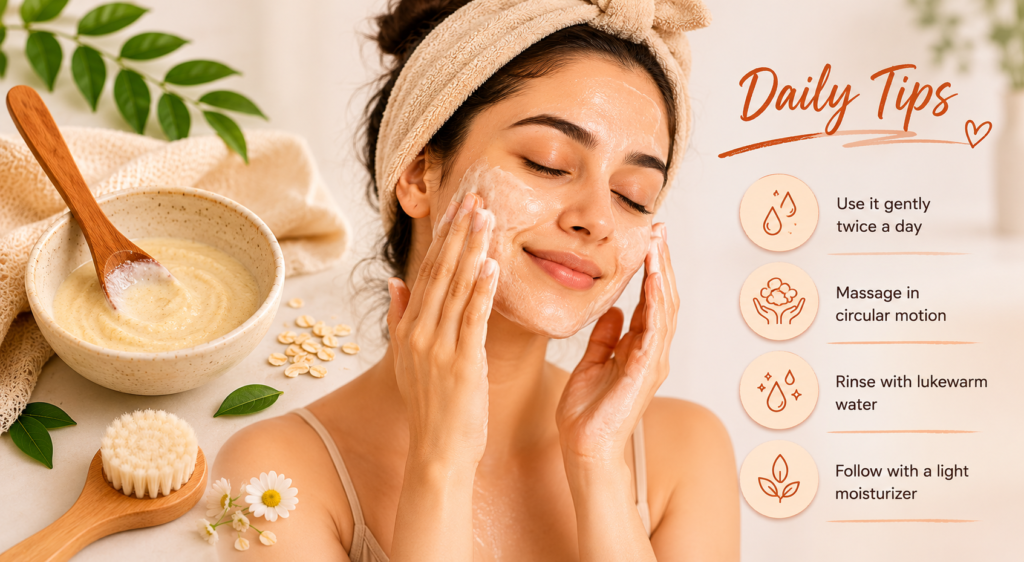
- Use lukewarm water — not hot, not cold. Hot water strips natural oils; cold water doesn’t fully dissolve impurities.
- Cleanse for at least 60 seconds. Most people spend only 15-20 seconds washing their face. Take a full minute to let the cleanser actually work.
- Use gentle upward circular motions — never scrub or drag the skin downward, which can contribute to sagging over time.
- Pat dry with a clean, soft towel — don’t rub. Rubbing causes unnecessary friction and micro-tears in the skin.
- Follow immediately with toner and moisturiser while skin is still slightly damp to lock in hydration.
- Cleanse twice daily — morning and evening. If you exercise mid-day, add a gentle rinse after your workout.
- Wash your hands thoroughly before cleansing to avoid transferring bacteria to your face.
How to Store Your Homemade Cleanser
Unlike commercial products, homemade cleansers lack synthetic preservatives, so proper storage is crucial to maintain both safety and efficacy:
- Refrigerate any cleanser containing dairy, aloe vera, or fresh fruit — these can spoil quickly at room temperature.
- Use clean, sterilised glass jars or bottles. Rinse with boiling water and let air dry before filling.
- Always use clean hands or a spatula to scoop product — fingers introduce bacteria.
- Label your containers with the date you made them and the ‘use by’ date.
- Oil-based cleansers can be stored at room temperature in a dark glass bottle for up to 3 months.
- If anything smells off, changes colour, or separates unusually, discard it and make a fresh batch.
Read this: Natural Skincare Routine for Healthy & Glowing Skin
Frequently Asked Questions (FAQ)
Q: Can I use a homemade face cleanser every day without damaging my skin?
A: Absolutely — in fact, many homemade cleansers are gentler than commercial options, making them ideal for daily use. The key is to choose ingredients appropriate for your skin type and avoid over-cleansing (more than twice daily is generally too much).
Q: Is honey safe to use on acne-prone skin?
A: Yes! Raw honey — especially Manuka honey — is one of the most scientifically backed natural ingredients for acne. Its hydrogen peroxide content, low pH, and Methylglyoxal (MGO) compound create a genuinely antibacterial environment that can help reduce acne-causing bacteria without irritation.
Q: Will oil cleansing make my skin more oily?
A: No — this is one of the most common skincare myths. Oil cleansing with the right oils (jojoba is ideal for oily skin) actually helps regulate sebum production over time. When skin is over-stripped by harsh cleansers, it compensates by producing more oil. Gentle oil cleansing can actually improve oily skin over 4-6 weeks of consistent use.
Q: How long before I see results from switching to a homemade cleanser?
A: Give your skin a full skin-cycle adjustment period — about 28 days. Your skin renews itself every 4 weeks, so this is the minimum time to fairly assess any skincare change. Many people notice brighter, softer skin within 1-2 weeks.
Q: Can I use these cleansers if I have a medical skin condition like eczema or rosacea?
A: If you have a diagnosed skin condition, always consult your dermatologist before switching your routine. That said, ingredients like colloidal oatmeal, aloe vera, and jojoba oil are frequently recommended even for sensitive conditions. Avoid fragranced essential oils and exfoliating acids if your skin is reactive.
Q: Do I need to use a toner or moisturiser after a homemade cleanser?
A: Yes. Even the most nourishing cleanser rinses away some moisture. Always follow cleansing with a toner (to rebalance pH) and a moisturiser (to seal hydration). This is especially important if you’re cleansing twice daily.
Final Thoughts: Your Skin Deserves Simple, Real Ingredients
There’s something genuinely empowering about making your own skincare. You know what’s in it. You know it’s fresh. You’ve tailored it to your skin’s real needs. And you’re doing your bit for the planet by skipping the single-use plastic and synthetic chemicals.
The recipes in this guide aren’t just DIY projects — they’re rooted in real science and centuries of traditional wisdom. Honey really is antibacterial. Oats really do soothe inflammation. Jojoba oil really does regulate sebum. These aren’t marketing claims; they’re documented properties backed by research.
Start with the recipe that sounds most suited to your skin type, commit to it for at least four weeks, and pay attention to how your skin responds. Adjust as needed — that’s the beauty of making your own.
At Daily Skin Glow, our mission is to help you achieve healthy, radiant skin through clean, informed, and intentional choices. A homemade face cleanser for daily use is one of the simplest ways to start.
Your glow is closer than you think. It might just be in your kitchen.

 Admin
Admin
[…] Read this: Homemade Face Cleanser for Daily Use and Glowing Skin […]