layer eye treatment SPF and makeup
Let’s be honest — we’ve all been there. You wake up early, carefully apply your eye cream, wait patiently, layer on your SPF, and then spend 20 minutes on a flawless makeup look… only for your concealer to start pilling and creasing within the hour. Frustrating, right?
Here’s the truth: pilling and creasing under the eyes is one of the most common skincare + makeup complaints — and it’s almost always about the order and compatibility of the products you’re layering. The good news? Once you understand the science behind it, the fix is surprisingly straightforward.
In this guide, we’re breaking down exactly how to layer your eye treatment, SPF, and makeup for a smooth, crease-free finish that actually lasts all day. Whether you’re a skincare minimalist or a full glam lover, this step-by-step approach works for every skin type.
Why Does Makeup Pill and Crease in the First Place?
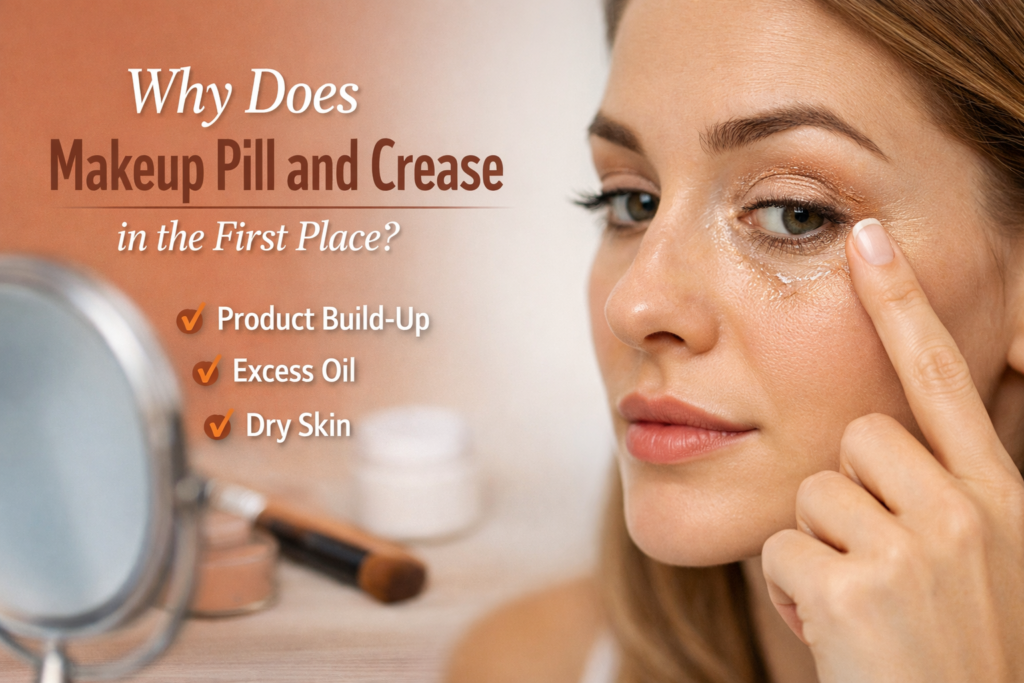
Before diving into the solution, let’s talk about why pilling happens. Pilling occurs when product layers don’t bond well together — instead of melting into the skin, they sit on top and clump when rubbed or disturbed. Creasing is slightly different: it happens when too much product settles into the fine lines and folds around the eyes.
The main culprits are:
- Mixing silicone-based and water-based products in the wrong order
- Applying too much product in one area
- Not allowing each layer to fully absorb before moving to the next
- Rich, oily eye creams that create a slippery base for SPF and makeup
- Using a heavy moisturizing SPF directly under a powder or liquid foundation
The under-eye area is especially prone to these issues because the skin there is incredibly thin (about 0.5mm compared to 2mm elsewhere on your face), more mobile, and lacks the sebaceous glands that help products bind naturally. This means any product you apply there is working harder to stay put.
Read this: Effective Ways to Get Rid of Summer Tan Quickly
The Golden Rule: Layer Thinnest to Thickest
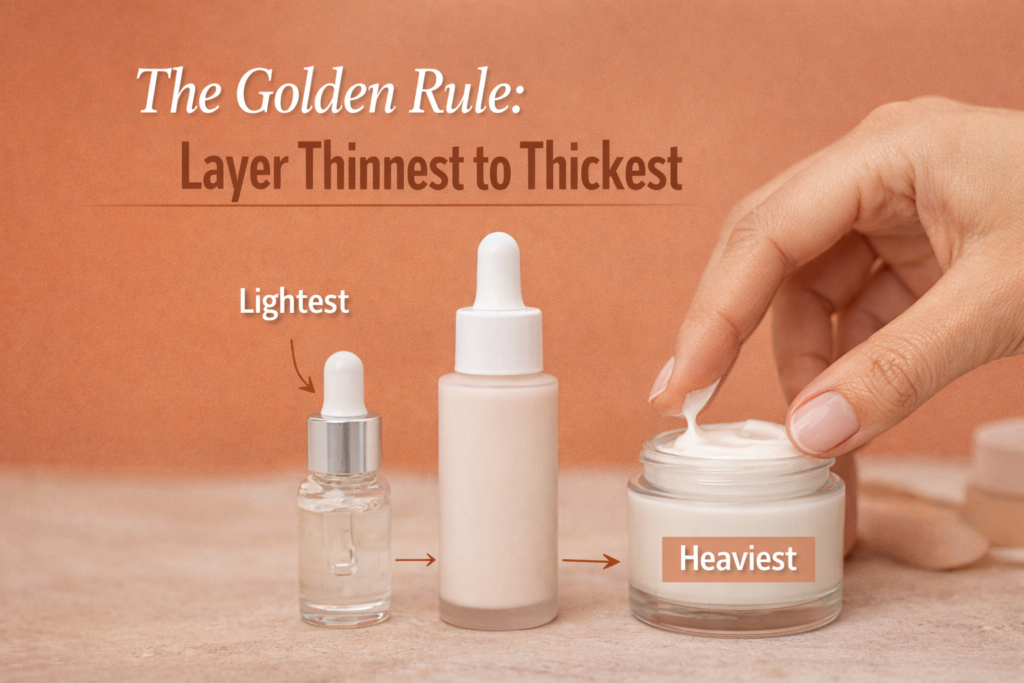
The cornerstone of pill-free layering is this simple rule: always go from thinnest consistency to thickest. Think of it like building a house — you need a solid, breathable foundation before adding heavier materials. In skincare layering, this translates to serums first, then eye creams, then SPF, then makeup.
Also pay attention to formulation bases. Water-based products (most serums and lightweight SPFs) should go before oil-based or silicone-heavy products. When you flip this order, the water-based product can’t penetrate through the oil layer and ends up balling up on the skin’s surface — that’s the pilling you see.
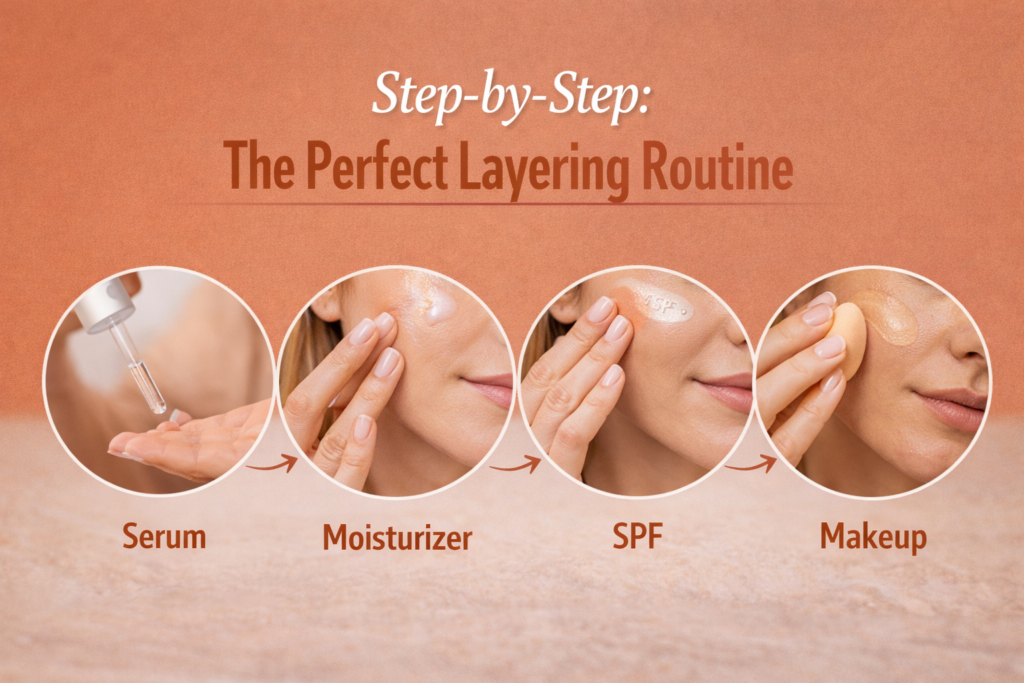
Step-by-Step: The Perfect Layering Routine
Here’s the exact sequence to follow every morning for a smooth, lasting base:
Step 1: Cleanse and Tone (Your Canvas Matters)
A clean, balanced canvas is everything. Use a gentle, pH-balanced cleanser suited to your skin type. Avoid over-cleansing around the eye area — a soft rinse is enough. If you use a toner, apply it all over your face with a gentle pat (never a harsh swipe near the eyes) and allow it to fully absorb.
Pro tip: If your skin tends to be oily around the eyes (yes, this happens!), a gentle hydrating toner with niacinamide can actually help regulate oil production and create a more mattified base for layering.
Step 2: Apply Your Eye Serum or Treatment (If Using)
If your routine includes an eye serum (for example, one targeting dark circles, fine lines, or puffiness with ingredients like retinol, peptides, or vitamin C), apply it at this stage — before your eye cream. Eye serums are typically lightweight and water-based, so they absorb quickly and form a great primer layer.
How to apply:
- Use your ring finger (it has the lightest touch)
- Gently dab along the orbital bone (not right on the lash line)
- Wait 60 seconds before moving to the next step
Step 3: Eye Cream — Less Is Genuinely More
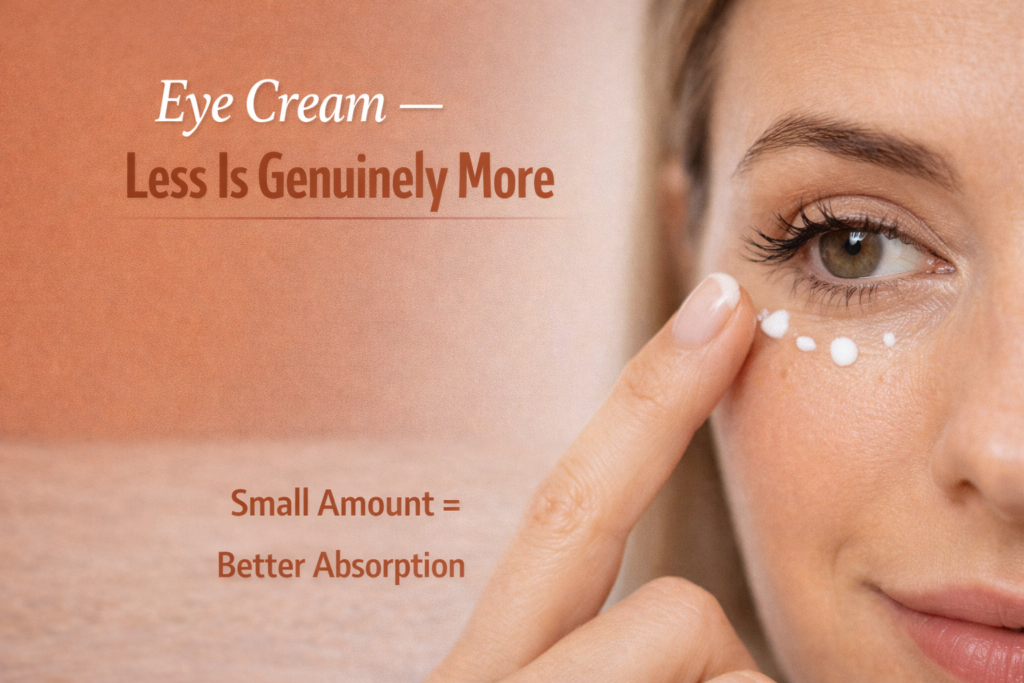
This is where most people go wrong — they apply too much eye cream, and then wonder why everything slides off. The under-eye area only needs a tiny amount of product: a rice-grain-sized dot per eye is truly sufficient. Any more than that and you’re creating a slippery, product-heavy surface that makeup simply cannot grip.
Read this: Best Skin Care Routine For Oily Skin in Summer
Choosing the right eye cream for layering:
- For daytime use: opt for a lightweight, gel-cream or peptide-based eye cream rather than a thick, buttery formula
- Avoid heavy oils (like coconut oil or shea butter-based formulas) in the morning if you plan to wear makeup — save those for night
- Silicone-based eye creams (containing dimethicone) can actually help blur fine lines and create a smoother surface — but they need time to set before you apply SPF on top
After applying eye cream, wait 2-3 minutes before moving on. You can use this time to apply the rest of your facial skincare (moisturizer, etc.) so the time isn’t wasted.
Step 4: Apply SPF — The Most Important (and Trickiest) Step
SPF is non-negotiable — UV damage is the number one cause of premature aging around the eyes, contributing to crow’s feet, dark circles, and sagging. But applying sunscreen over eye cream without thinking about compatibility is a recipe for pilling disaster.
Choosing the right SPF for eye-area layering:
- Lightweight, fluid SPFs (think: SPF serums or tinted SPF fluids) layer best over eye creams
- Mineral SPFs (zinc oxide/titanium dioxide) tend to be less pilling-prone than chemical SPFs over rich eye creams, but can leave a white cast
- Avoid SPFs with high silicone content when your eye cream is also silicone-heavy — too much silicone + silicone = slippage and pilling
- A moisturizing SPF with a lotion texture is your best middle ground — hydrating but not too heavy
How to apply SPF near the eyes:
- Apply SPF to your whole face first (forehead, cheeks, nose, chin)
- Use leftover product on your fingertips to gently pat the outer corners and under-eye area
- Pat — don’t rub or spread. Rubbing creates friction that disturbs the eye cream layer
- Wait at least 2-3 minutes for SPF to fully set before applying makeup
Step 5: Primer (Optional But Game-Changing)
If you still struggle with concealer creasing, an eye primer or color-correcting primer is your secret weapon. Eye primers create a tacky, grippy surface that helps makeup adhere and stay in place all day. They also create a protective layer between your skincare and makeup formulas, reducing the chance of incompatible products mixing and pilling.
Look for: a lightweight, matte or satin finish eye primer. Apply a tiny dot, blend with your ring finger, and set with a micro-dusting of translucent powder before concealer. This powder-then-concealer technique (also called baking or reverse technique) is a game-changer for crease prevention.
Step 6: Apply Your Makeup — Starting with Concealer
With a properly prepped base, your concealer should glide on smoothly and stay put. Here’s how to maximize longevity and avoid creasing:
- Use a lightweight, buildable concealer rather than a heavy, full-coverage one (thick formulas crease more)
- Apply in a triangular shape pointing down toward the cheekbone for lifted, brightening coverage
- Blend with a damp beauty sponge using stippling (bounce) motions — not dragging
- Set immediately with a finely-milled translucent or banana setting powder
- A light dusting of powder under the eye (not a heavy application) will lock everything in place
The Wait Time Cheat Sheet
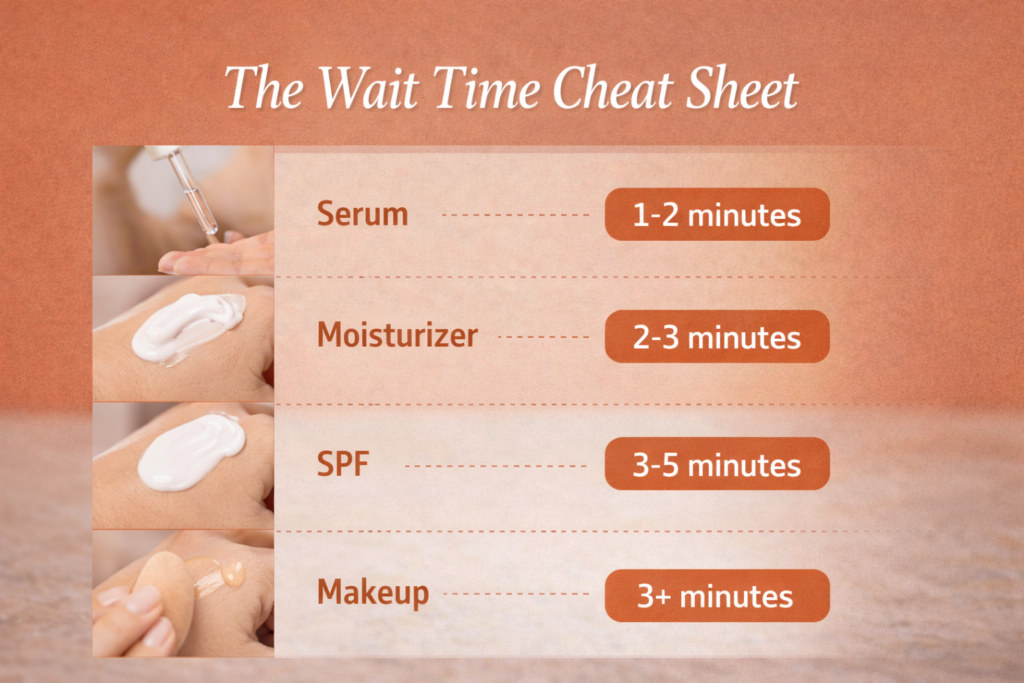
One of the biggest mistakes in layering is rushing the process. Here’s a simple wait time guide to follow:
- After eye serum: wait 60 seconds
- After eye cream: wait 2-3 minutes
- After SPF: wait 2-3 minutes
- After primer: wait 60 seconds before applying concealer
Total extra time added to your routine: about 7-8 minutes. For a foundation that stays flawless all day — that’s a genuinely worthwhile trade.
Read this: Types of Skin Complexion in India Explained
Ingredient Compatibility: What Plays Well Together (and What Doesn’t)
Beyond order and timing, ingredient compatibility is a crucial factor in preventing pilling. Here’s what you need to know:
Good combinations:
- Water-based eye serum + water-based SPF fluid + liquid foundation
- Peptide eye cream + mineral SPF lotion + powder foundation
- Gel-cream eye treatment + lightweight tinted SPF + stick concealer
Problematic combinations:
- Rich oil-based eye cream + chemical SPF with high silicone content = almost guaranteed pilling
- Retinol eye cream + vitamin C SPF = potential irritation and poor absorption
- Too many silicone-heavy products in a row = slippage and crease lines
Tips by Skin Type
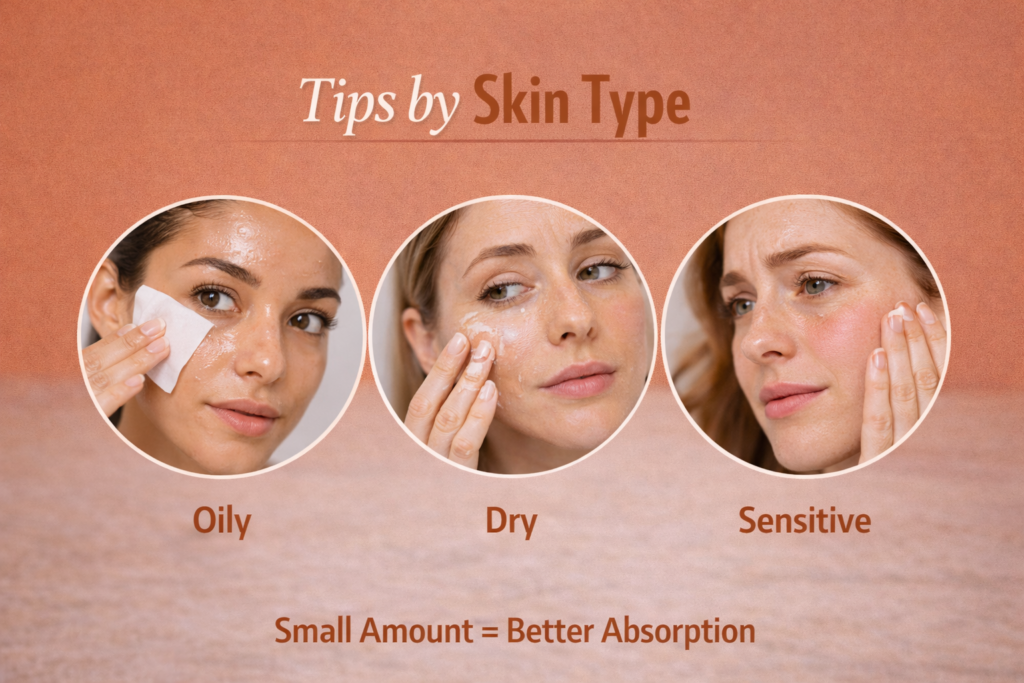
Dry Skin:
Dry skin types tend to crease more because the skin lacks adequate moisture to stay plump. Use a hydrating eye cream with hyaluronic acid, ceramides, or squalane. Avoid matte or powder-heavy SPFs as they can further dry out the eye area. A hydrating setting spray after makeup application helps prevent dry creasing.
Oily/Combination Skin:
If your under-eye area is oily, a gel-based or oil-free eye cream is your best friend. Use a mattifying SPF to control shine. A light dusting of translucent powder before and after concealer helps tremendously. Look for makeup products labeled ‘oil-free’ or ‘long-wearing.’
Sensitive Skin:
Sensitive skin around the eyes needs fragrance-free, ophthalmologist-tested products at every step. A mineral SPF is preferable to chemical filters, which can cause irritation. Keep the layering minimal — a good eye cream, a mineral SPF, and a gentle concealer may be all you need.
Mature Skin:
Fine lines and wrinkles create natural creases where makeup loves to settle. Use a plumping, peptide-rich eye cream, a hydrating SPF, and skip powder if possible (or use it very sparingly). A damp beauty sponge rather than a dry brush for blending concealer makes a huge difference for mature skin.
5 Common Mistakes That Are Ruining Your Under-Eye Makeup
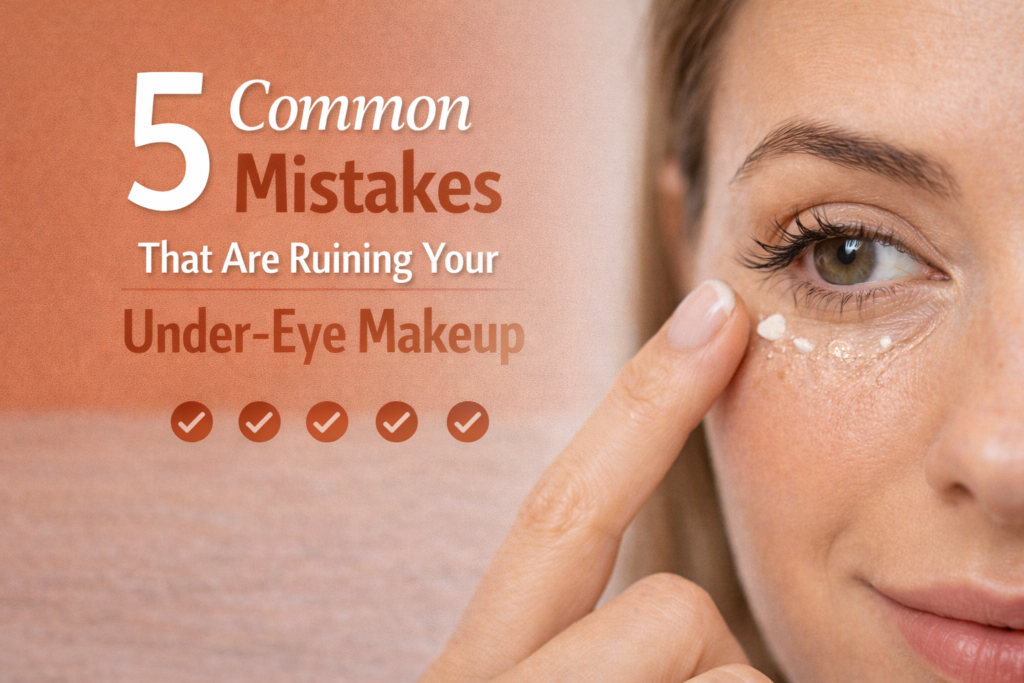
- Applying eye cream too close to your makeup time
Give products at least 2-3 minutes to absorb. Rushing this step is the single biggest cause of pilling.
- Using too much product
The under-eye area is small. A rice-grain-sized amount of eye cream and a tiny dot of concealer are genuinely all you need. More product = more creasing.
- Rubbing instead of patting
Rubbing creates friction that drags delicate skin, pulls apart product layers, and causes pilling. Always pat gently with your ring finger or a soft brush.
- Skipping SPF near the eyes entirely
Many people avoid SPF near the eyes to prevent pilling — but UV damage is a leading cause of the very wrinkles and dark circles they’re trying to cover. The answer is choosing the right SPF formula, not skipping it.
- Using incompatible formulas
If you’re consistently dealing with pilling, it may simply be a formula mismatch. Try swapping your SPF or eye cream for a product with a different base and see if it makes a difference.
Read this:10 Best Dry Skin Foundation Tips In India
What to Look For in Products (Ingredient Guide)
Not all products are created equal when it comes to layering compatibility. Here’s a quick ingredient guide to help you shop smarter:
Best eye cream ingredients for daytime layering:
- Hyaluronic acid — lightweight, deeply hydrating, water-based friendly
- Peptides — firm and smooth without heaviness
- Niacinamide — brightens, reduces puffiness, mattifies slightly
- Caffeine — depuffs and tightens temporarily for a smoother makeup base
Best SPF formulas for layering over eye cream:
- SPF fluid or serum textures — lightweight, fast-absorbing, minimal pilling
- Tinted SPF moisturizer — combines SPF + light coverage for a simplified routine
- Mineral sunscreen sticks — great for targeted reapplication without disturbing makeup
Your Complete Morning Routine at a Glance
Here’s the complete, simplified order to follow every morning:
- Cleanse and tone
- Apply any water-based serums (including eye serum if using)
- Eye cream (tiny amount, patted gently) — wait 2-3 min
- Face moisturizer (if separate from SPF)
- SPF — wait 2-3 min
- Eye primer (optional, but recommended for oily or mature skin)
- Translucent powder (light dusting under eye)
- Foundation or tinted SPF
- Concealer (patted with damp sponge)
- Set with translucent powder and/or setting spray
FAQs
1. Can I skip primer if my sunscreen has a matte finish?
A good SPF can sometimes act as a primer, but a dedicated makeup primer with SPF formulas extends makeup wear and create a smoother canvas for foundation.
2. Why does my concealer crease even with primer?
You may be using too much product or not hydrating the under-eye area sufficiently. Try thinner layers and ensure your eye treatment has fully absorbed before applying makeup.
3. Should I use different products for the eye area?
Yes. The skin around your eyes is thinner and more delicate. Ophthalmologist-reviewed formulas designed for the eye area help prevent irritation and creasing.
4. How long should I wait between skincare steps?
Allow one to two minutes between each layer of skincare. Sunscreen needs the longest wait time, ideally five to ten minutes before primer and makeup.
Final Thoughts
Layering eye treatment, SPF, and makeup without pilling or creasing isn’t some complicated beauty secret reserved for professionals — it’s simply a matter of understanding how your products interact and giving them the time they need to work.
The key takeaways: use lightweight, compatible formulas. Apply tiny amounts. Always pat, never rub. Let each layer breathe before adding the next. And never, ever skip your SPF — just choose the right one for layering.
Your under-eye area deserves the same thoughtful care as the rest of your skincare routine. With the right approach, you can protect, treat, and illuminate that area all at once — without sacrificing your makeup’s staying power.

 Admin
Admin